
Guides
Part of Reading travel mobility equipment with a sceptical eye
Travel Mobility Equipment Packing List for Air Travel
Use this travel mobility equipment packing list to prepare device documents, protect batteries, carry repair parts and hand over equipment for air travel.
What to take away
- Photograph the device from four angles at the airport, before it leaves your hands.
- Battery terminals must be taped or cased so they cannot touch metal. Spares travel in the cabin.
- Carry the parts you can fit yourselfcastors, valve caps, hex keys, cable ties.
- Ask the manufacturer whether your implanted or worn device can pass through X-ray or a metal detector.
- Anything proprietary can take a month to arrive, so order spares before the trip, not after.
A travel mobility equipment packing list is not a list of comforts. It is the set of items that keeps a trip going when the airline, rental car or hotel does something unexpected. For a different kind of list, see the attraction packing list.
Documents and labels
- Photographs of the device from four angles, taken at the airport on the day
- Written dimensions, weight and battery watt hour rating
- The manufacturer's model and serial number
- Your supplier's telephone number and the nearest service agent at the destination
- Printed instructions for removing and refitting anything detachable
Tie a laminated card to the frame with the model, the battery rating and a contact number on it. Handlers read cards.
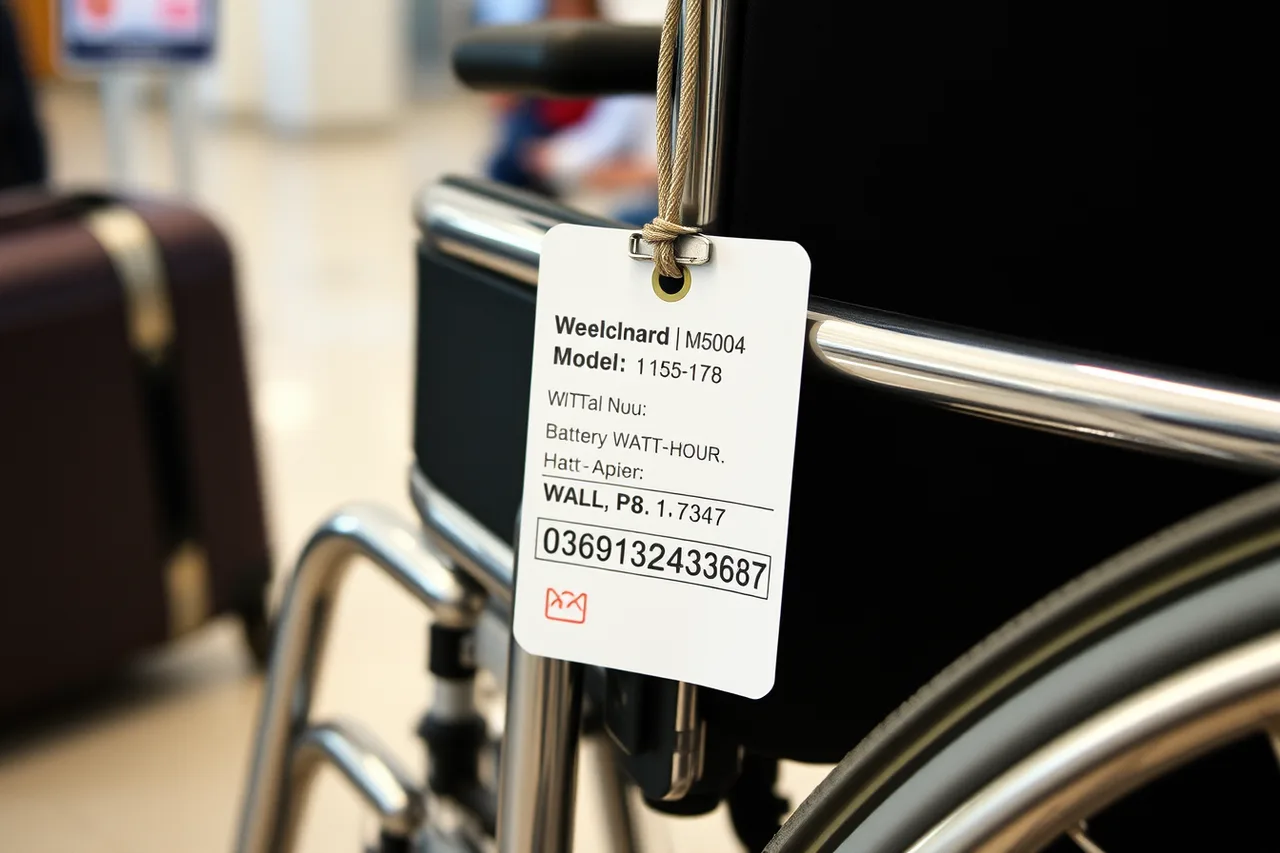
The battery kit
Batteries are the part with rules attached, and the rules are about short circuit and packaging rather than about permission.
The FAA's PackSafe battery entry requires battery terminals to be protected so they cannot touch other metal. The accepted methods are retail packaging, non-metallic tape over the terminals, a battery case, or a snug protective pouch. Leaving a rechargeable battery in its wall charger does not count.
For non-spillable wet batteries used in portable equipment, the limits are 12 volts and 100 watt hours, with no more than two spares, in strong packaging marked as non-spillable.
Pack the charger in the cabin. A device with no charger is a device you cannot use tomorrow.
Spare parts worth the weight
Castors or a castor wheel. The commonest hold-damage casualty and the cheapest to carry. Order the spares in the quiet months, since anything proprietary can take a month to arrive.
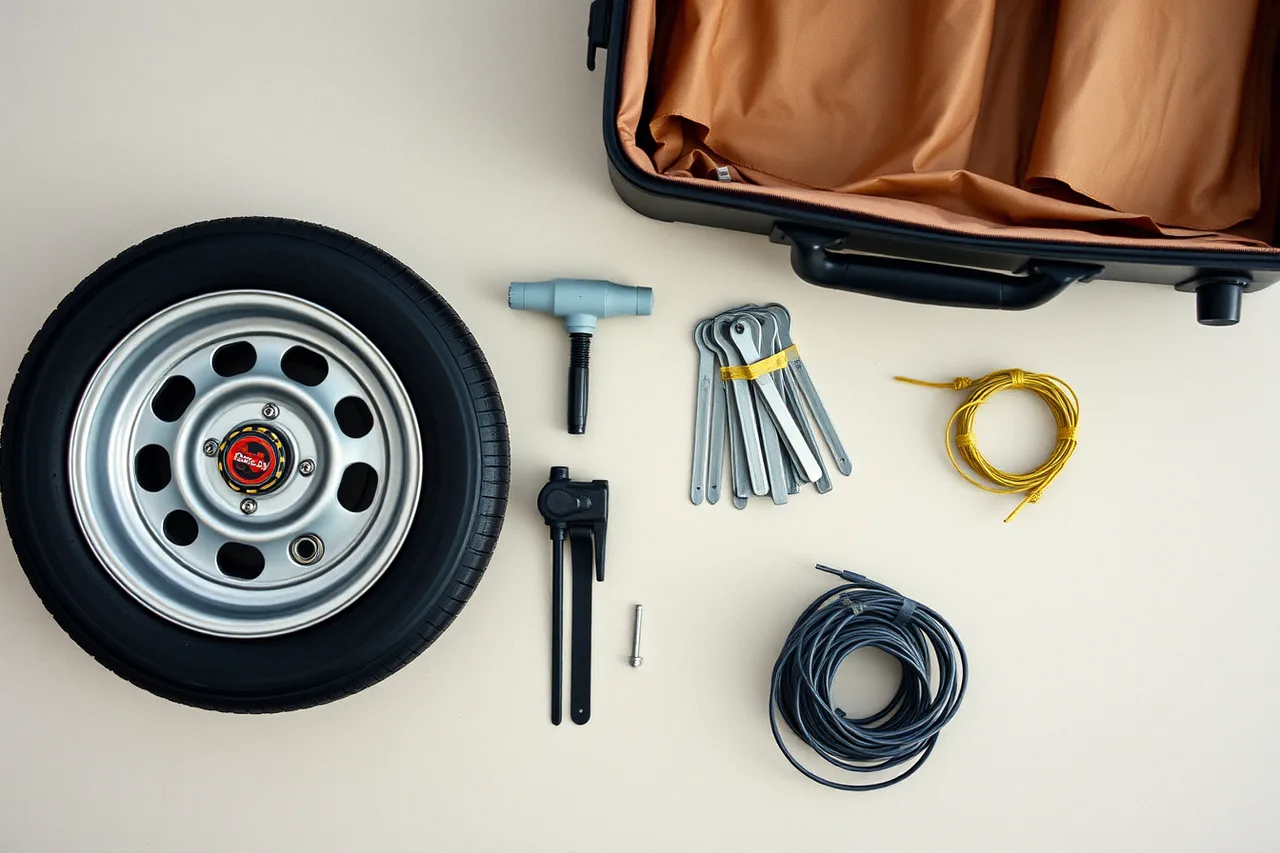
Valve caps and a small pump, if the tires are pneumatic.
Hex keys in the sizes your frame uses, taped together so they stay together.
Cable ties and a meter of strapping, which have rescued more armrests than any tool.
A spare seat cushion cover, because a wet cushion ends a day.
Do not carry parts you cannot fit yourself, and do not attempt a repair on anything that carries you if you are not sure. A borrowed chair for a day is better than a frame that fails at speed.
A worked example of the handover
Say your chair weighs 24 kilograms and the airline's limit for a single checked item is 23. The overage is one kilogram, and the fee is charged per item, not per kilogram.
Weigh the frame at home on a bathroom scale, subtract the weight of anything you remove and carry on, and photograph the scale reading next to the frame.
If the number is close, move the footplates and cushion into the cabin bag before the counter, not after.
Devices attached to your body
If you travel with an implanted or worn device, the screening step needs a sentence prepared in advance.
TSA's external medical devices entry says to tell the officer what device you have and where it is before screening begins. You may offer the TSA notification card or medical documentation.
Ask the manufacturer whether the device can pass through X-ray, a metal detector or imaging technology. The entry puts devices with lithium batteries in carry-on baggage; ask for a Passenger Support Specialist or a supervisor if the process stalls.
Protection for the device itself
Padding on the joystick, tape over exposed controls, and the footplates removed and bagged. Gate-check tags on every removed part, photographed together before handover.
All of that is the flying case. Driving keeps the device with you and removes the whole section.
The equipment categories determine which of these apply, and the attraction packing list covers the day bag rather than the device.
Common questions
Should I remove the battery myself?
Only if the manufacturer says so and you have done it before. Otherwise ask the airline early, because the answer decides how the chair is checked in.
Do I need a doctor's letter?
Rarely required, occasionally useful. A device card with specifications is more use at a gate.
What if a part is lost in transit?
Report it before leaving the airport, in writing, with your photographs attached. The airline's own claim process sets the deadline, so ask for it at the desk.
How much should the kit weigh?
Two kilograms covers most of this list. Anything heavier is being carried on the assumption of a repair you should not attempt.