Guides
Part of Accessible U.S. travel: why access is uneven, not absent
Accessible US travel itinerary planning: one anchor a day
An accessible US travel itinerary can stay flexible: plan one morning anchor, a scheduled rest, a written backup, and fewer transfers each day.
What to take away
- One anchor per day, not three. Everything else can be dropped without ruining the day.
- Put the rest in the plan at booking timetwo hours, indoors, near a confirmed restroom.
- National park access pages can help you verify site-specific details. Commercial attractions may require direct confirmation.
- Choose a backup for every stop before you leave the room, not at the curb.
- Two transport transfers a day is comfortable. Four turns the trip into a different one.
An accessible US travel itinerary needs to hold up when a lift goes out of service or a transfer runs long. That is a planning decision, not luck.
The shape of the two days
Day one: one anchor in the morning, a long lunch, one small stop, an early evening.
Day two: one anchor in the morning, then home or a second small stop.
Two anchors, two small stops, two rests. Stretched across a week the shape holds, except that confirmed accessible rooms start deciding the route rather than the other way round, which is why stops worth adding to a longer trip are chosen after the beds are.
A two-day planning template
Day one
- Morning anchor
- Grand Canyon visitor area, shuttle to a rim viewpoint
- Backup
- Second rim viewpoint reachable by the same shuttle
- Lunch and rest
- Two hours indoors, confirmed restroom
- Afternoon
- One small stop near the hotel
Day two
- Morning anchor
- Zion shuttle to a listed accessible trail
- Backup
- Second trailhead, or the visitor center film
- Lunch and rest
- Two hours indoors before the drive out
- Afternoon
- None, or one stop on the route home
Treat the table as a planning template: write a backup next to each anchor before the trip.
Why parks make good anchors
The National Park Service (NPS) publishes park-specific accessibility information; use it for current route, restroom, shuttle, and facility conditions. At NPS sites, Section 504 of the Rehabilitation Act is the key federal disability-access framework; the Americans with Disabilities Act (ADA) applies to covered public accommodations and state and local government services. Neither means every trail or viewpoint is accessible, so the details below identify specific options to assess rather than promise a fit for every traveler.
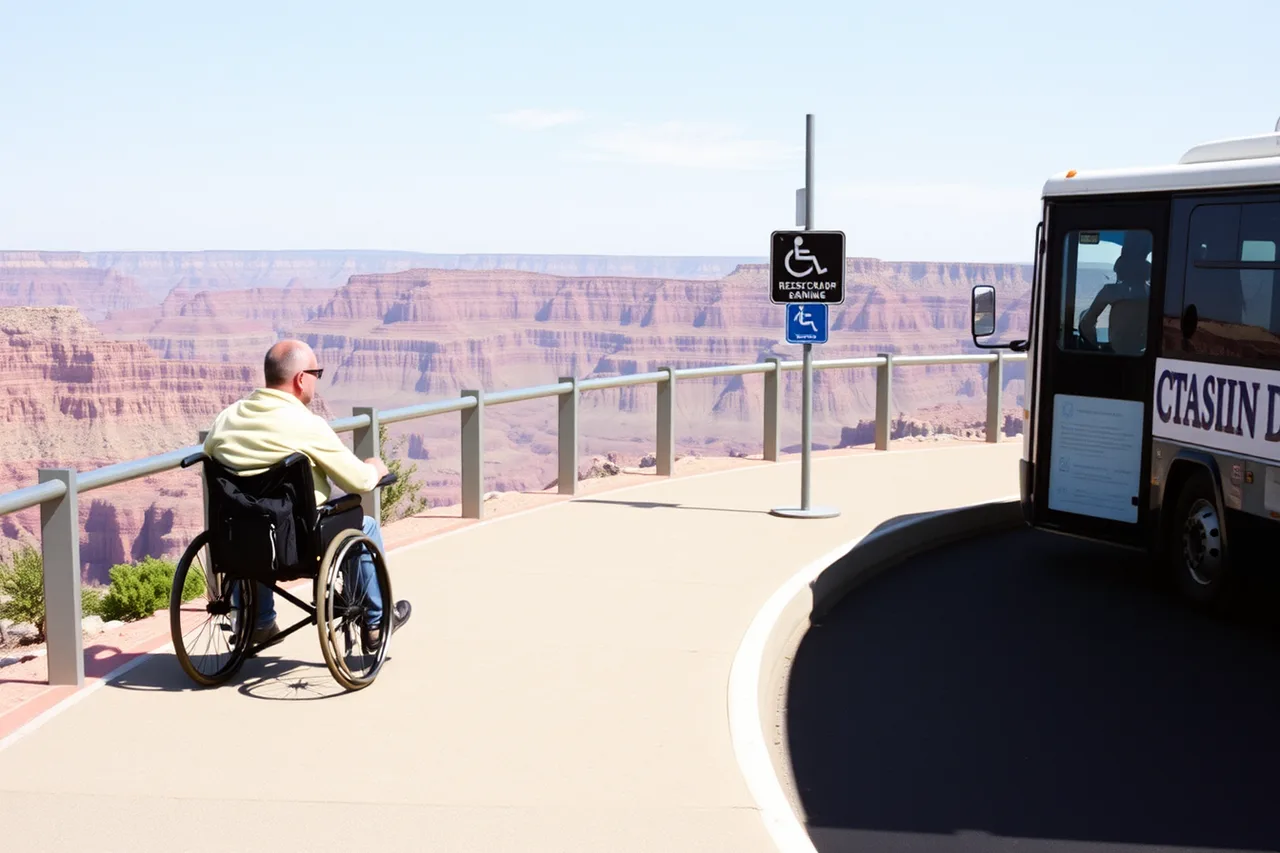
On the Grand Canyon's South Rim, set Mather Point as the anchor. It has a paved approach from the Grand Canyon Visitor Center, and the Kaibab Rim (Orange) Route serves both Mather Point and Yavapai Point. Use Yavapai Point as a named alternative, then check current stop access, restroom availability, and conditions in the NPS Grand Canyon accessibility information before choosing the segment.
At Zion, name the Pa'rus Trail as the walking anchor: its paved path begins near the Visitor Center and follows the valley toward Canyon Junction. The Zion Canyon Shuttle boards at the Visitor Center and serves stops along Zion Canyon Scenic Drive; its buses are wheelchair accessible. If boarding or shuttle service is not workable, use a short out-and-back on the Pa'rus Trail from its visitor-center end rather than making the shuttle-dependent ride the day's only plan. Confirm current operations and trail conditions in NPS Zion accessibility information.
Before committing, record the exact trail segment, nearest accessible restroom, shuttle stop and service status, and the backup route. Check the NPS page for each park and confirm current conditions with park staff before departure.
Building the day around a rest
Two hours, indoors, with a seat that is not your wheelchair, near a restroom you have already confirmed. A hotel lobby, a library, a museum café, or the room itself if the hotel is close.
Trips fail on cumulative fatigue more often than on any single barrier. The rest is the intervention.
The backup, written down
For the Grand Canyon, write Mather Point as the planned stop and Yavapai Point as the alternative; both are served by the Kaibab Rim (Orange) Route. At Zion, use a short Pa'rus Trail out-and-back near the Visitor Center as an alternative to riding farther up-canyon. Check the access details for the alternative too; a backup only helps if its surface and route work for you.
At the curb, tired, in the rain, nobody researches a substitute. A note on a phone is enough.
Transport between stops
Keep the legs short and the modes few. Book adapted transport further ahead than feels necessary, and confirm the day before.
Where transit is the plan, check whether the specific stations have working lifts. A system can be accessible and a station not be.
What to leave out
The evening event on day one. The third attraction. The neighborhood everyone recommends that turns out to be on a hill.
Leaving those out is the difference between two good days and two days spent recovering.
The wider planning method is in the practical guide. Read what first-time visitors underestimate before drafting the route.
Common questions
Is one attraction a day really enough?
For a first trip to an unfamiliar city, usually yes. Finishing the day with energy left is the point, not a compromise.
What if the anchor is inaccessible on arrival?
At the Grand Canyon, use Yavapai Point as the named alternative to Mather Point. At Zion, switch to a short Pa'rus Trail outing near the Visitor Center if the shuttle or a farther stop does not work; confirm the route and current conditions with NPS.
How much buffer between stops?
For park shuttles, check the current schedule and accessible boarding at your stop, then keep the named backup reachable without another shuttle transfer. Transfers, queues and detours can still add time, so avoid scheduling another fixed stop immediately after the anchor.
Can this work without a car?
In a compact city with reliable accessible transit, yes. Check the specific stations rather than the system as a whole.